My TOU and Some Info
I am stepping into the world of AI so if
you decide to grab some of my
tubes or images please add
ai by xclusively christy designs
or ai by xcd on them,
I do ask that you
PLEASE DO NOT
Tube my images I share
thank you
smiles
christy
My Blinkie

My License's
Suzanne Woolcott,
TooshToosh,
CILM,
MPT,
CDO,
PTE,
My Tag Art,
My Tubed Art,
Zindy Nielsen,
PSP Tubes Emporium,
Keith Garvey, PFD,
I also enjoy FTU artist
Visitors
Sunday, November 3, 2013
11/03/2013 11:41:00 PM | Edit Post
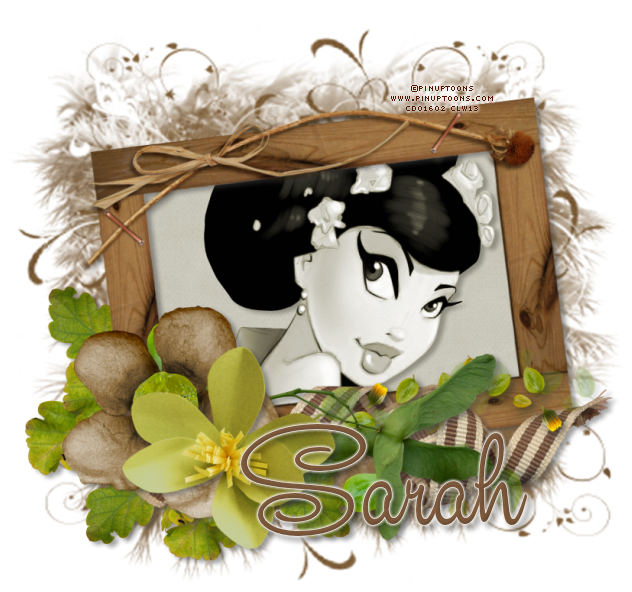
Almost Autumn
Tube of choice, I used Pinuptoons and Zindy S.D. Nielsen
Scrap kit of choice, I used Almost Autumn by Designs by Sarah
Font of choice, I used Studio Lettering Swing
Graphic Program of choice, I use PSP 9
This tutorial assumes you have working knowledge of paint shop pro,
All of my tutorials are my own creation and any similarity
with any other tutorial is purely coincidential.
Please do not copy my tutorials to anyplace, please link back to my blog!
Open a new image 750x750 and flood fill white,
I Like to have room to work, this is your choice,
My tuts are written using this size image
open sb_pmt_almost-autumn_pp5 and c/p as a new layer
apply a mask of choice, I used lrmask144 (this is a photomask)
now open sb_pmt_almost-autumn_frame 1 c/p as a new layer
resize by 90% and rotate to the left by 8% now stretch your mask
out just a bit to show around the frame, grab your magic wand
click inside the frame opening and expand by 9 and invert open
sb_pmt_almost-autumn_pp2 c/p below the frame and hit delete
select none, now open sb_pmt_almost-autumn_leaves bundle c/p as a
new layer right above the mask, duplicate and flip, duplicate
again and mirror, now open sb_pmt_almost-autumn_leaves
c/p as a new layer, bring to the top and mirror now open
sb_pmt_almost-autumn_paper flower 3 c/p as a new layer
right above the frame layer, mirror now lets open
sb_pmt_almost-autumn_paper flower 4 c/p as a new layer
resize by 82% now open sb_pmt_almost-autumn_ribbon 2
c/p as a new layer right above the frame layer now open
sb_pmt_almost-autumn_swirl1 c/p as a new layer right
above the frame and rotate to the right by 18% now add
a dropshadow and a tube of choice, hide the white background
layer and merge visible.
I always resize my finished tag BEFORE adding my copyright info,
it makes this seem clearer, add your name and copy right
information and Save the way you prefer to save tags,
I hope you enjoyed this tut
smiles
christy
Ü
Subscribe to:
Post Comments
(Atom)


0 comments:
Post a Comment